
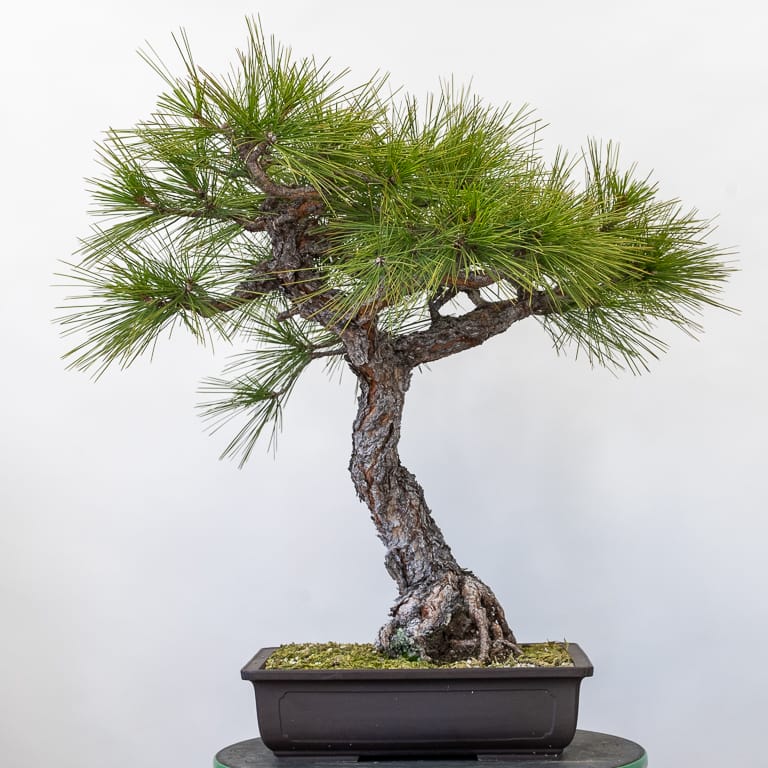
For the past three years, I’ve been working on a Ponderosa pine with large branches on the upper half of the trunk. I spent the first two years getting the tree healthy enough to work on and I lightly pruned and repotted it last year. The tree responded well and is now ready for styling.
Ponderosa pine
That said, this might be a Jeffrey pine. I don’t know the tree’s history so I don’t know where it was collected or whether it is a Jeffrey pine or a Ponderosa. Since most of the collected pines I’ve seen with similar characteristics are Ponderosas, I’m going with that for now.
When I first acquired the tree I planned to lower the first branch on the right. I like it when pine branches grow at descending angles as this suggests the branch angles of old pines.
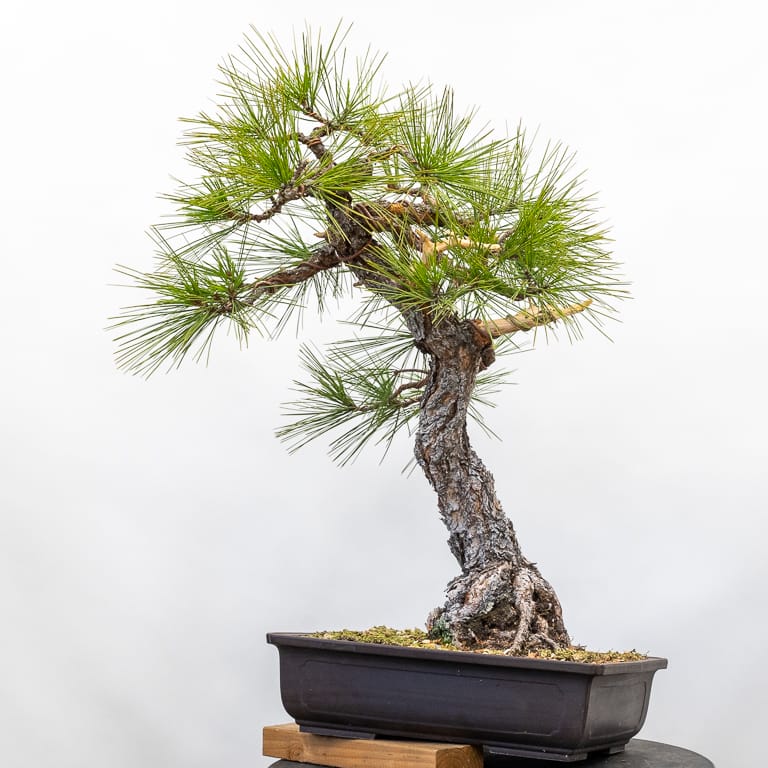
When I sat down to work on the tree, I found the first branch to be too large and too straight to use so I removed it.
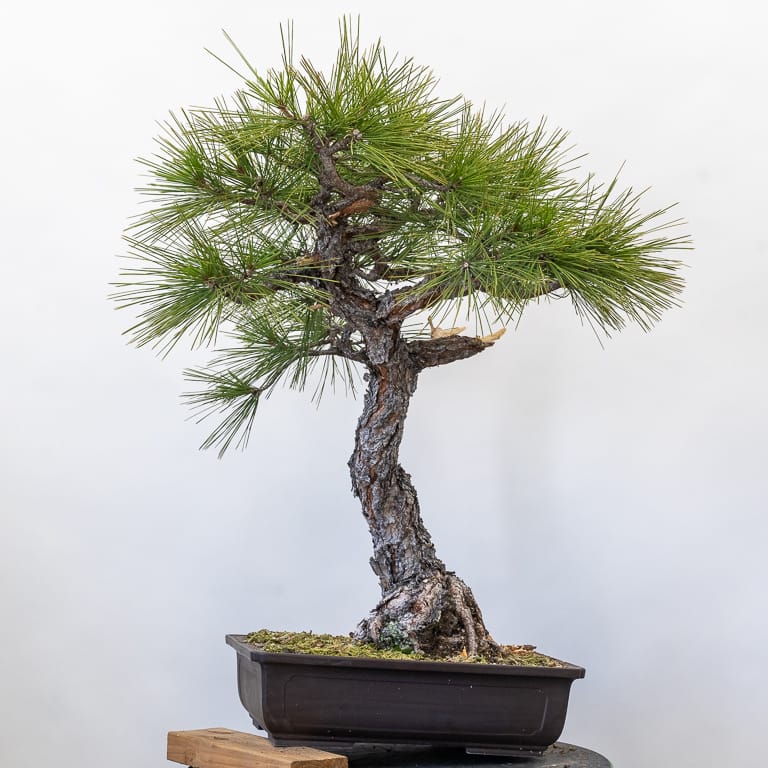
After removing the first branch
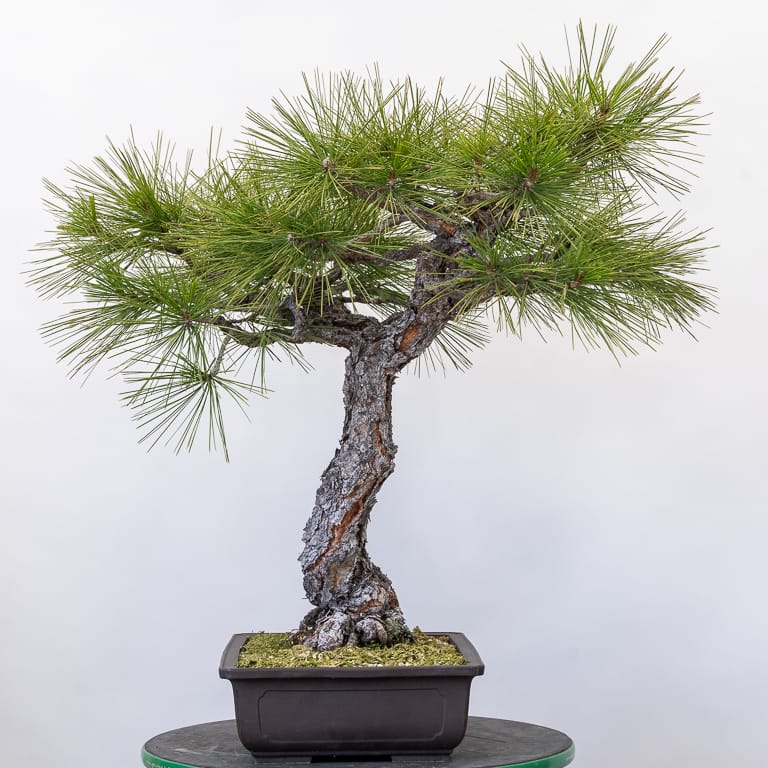
With the largest branch out of the way, I tested different planting angles and fronts.
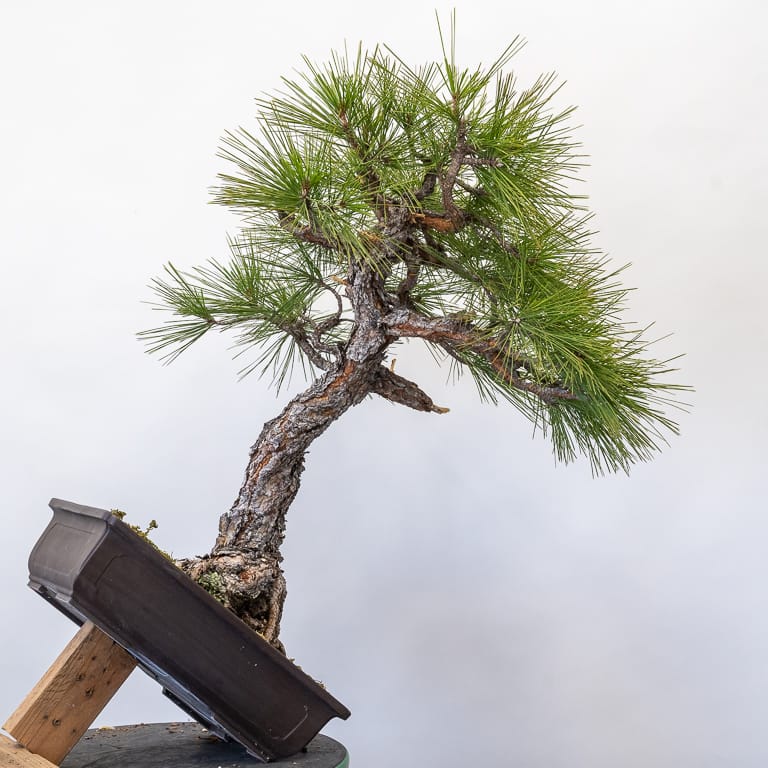
Testing a different planting angle
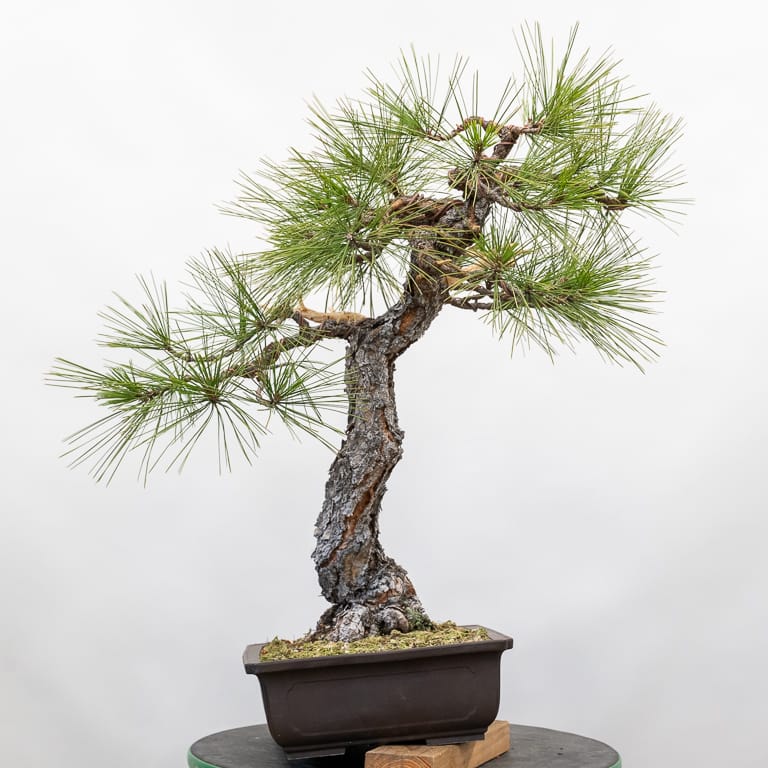
Eventually I settled on a similar front with a slightly modified planting angle. I expect this will change a little over time, but it’s a good starting point for the initial branch work.
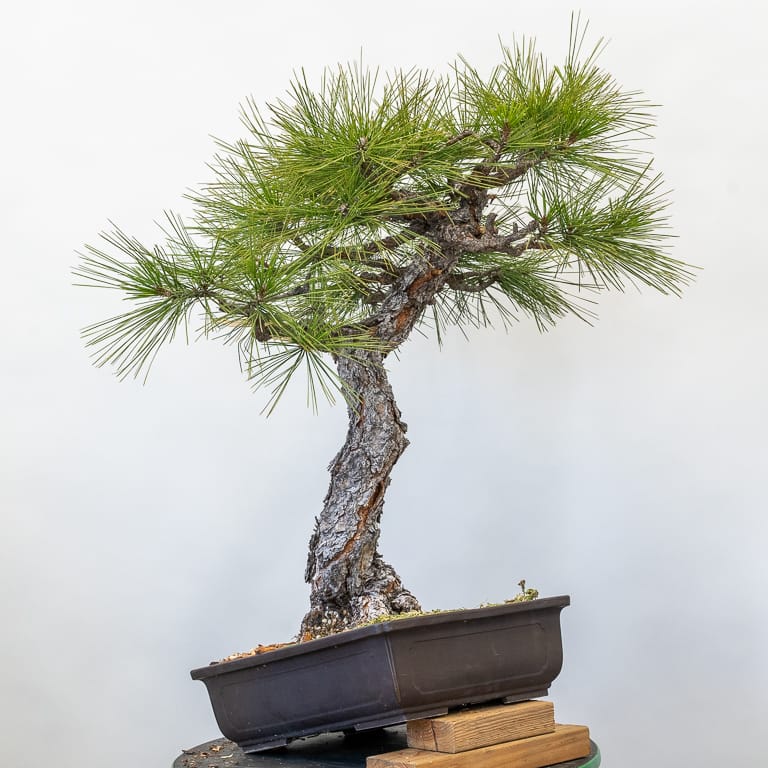
After deciding on the planting angle, I found the next biggest branch on the tree to be too big so I removed it.
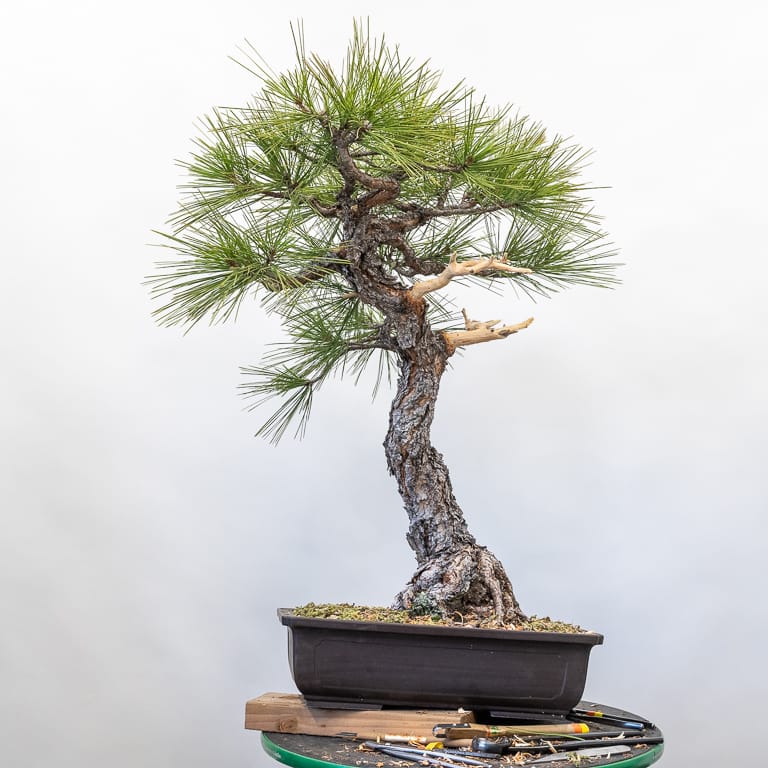
After removing the two large branches on the right
I kept the first 8″-10″ of these branches for deadwood features and will treat them with lime sulfur after they dry out in a few months.
From a design perspective, there were two main reasons for making these cuts. The first is that the movement of the trunk is to the left and the big branches both grew to the right which suggests movement in the opposite direction. The second reason is that the branches lacked movement and were too long to fit into the silhouette I had in mind for the tree.
With those branches out of the way, the next step was to wire and set the remaining branches.
Here’s one option for the future front.
Option 1
I like the movement from this front but the branches don’t make as much sense from this angle. By rotating the tree slightly I can offer a better view of the trunk.

Option 2 – 31″ tall
Although it’s easy to see the future silhouette with such long needles, the next step is to improve the branch density. By looking at the before and after photos from the left side, it’s easy to see where the tree needs to fill in.
Left side before pruning
Left side after removing the heavy branches
Left side after wiring
I plan to let the tree grow for one or two years before repotting at the new potting angle. In the meantime, I’ll switch the focus to increasing the branch density.
Subscribe to Indian Bonsai Art
New Posts Delivered Every Tuesday and Friday