
Growing Japanese black pine from seed isn’t the easiest way to make a beautiful bonsai. It requires a variety of skills and it takes a long time. That said, the process of starting bonsai from scratch can be very rewarding – whether or not you end up with a masterpiece.
The basics of growing pines from seed are simple – place seeds in planting medium, water, wait for seedlings to appear.
As bonsai enthusiasts, however, we can refine this process a bit. The first step begins with selecting the right parent tree.
Selecting pine cones for bonsai
Not all pine cones are created equally. Some are large and healthy, others are small by comparison. We want the big, healthy ones for bonsai – smaller cones are less likely to have viable seeds inside.
More important is the parent tree itself. Does it have good bark? Are the needles straight and dark green? Are the branches compact? If so, you may have found a good parent tree. Make note of it and return in September or October when it’s time to harvest the cones. They should look like this.
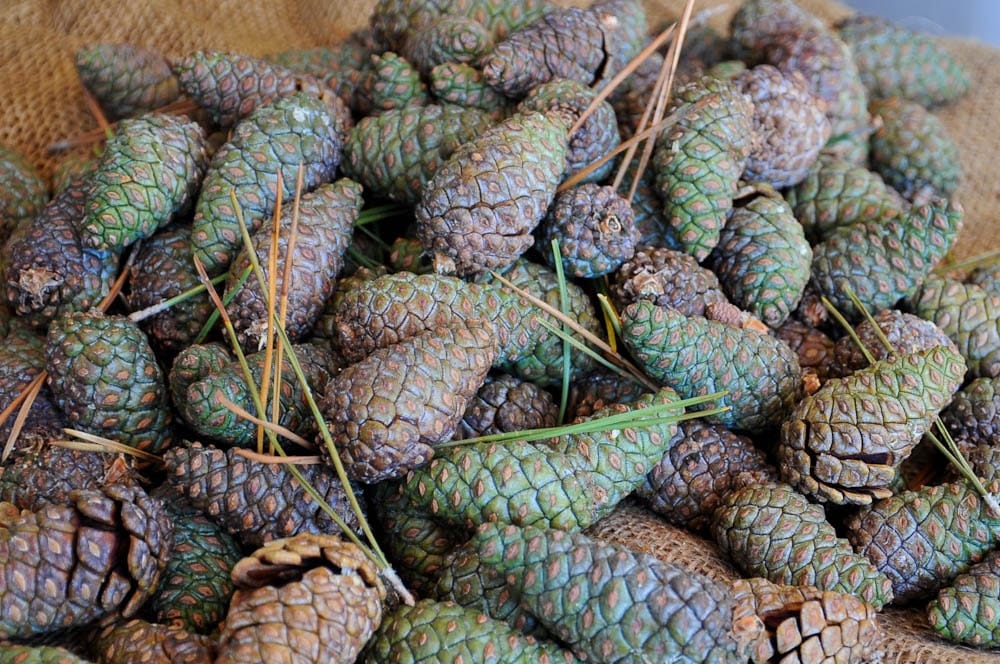
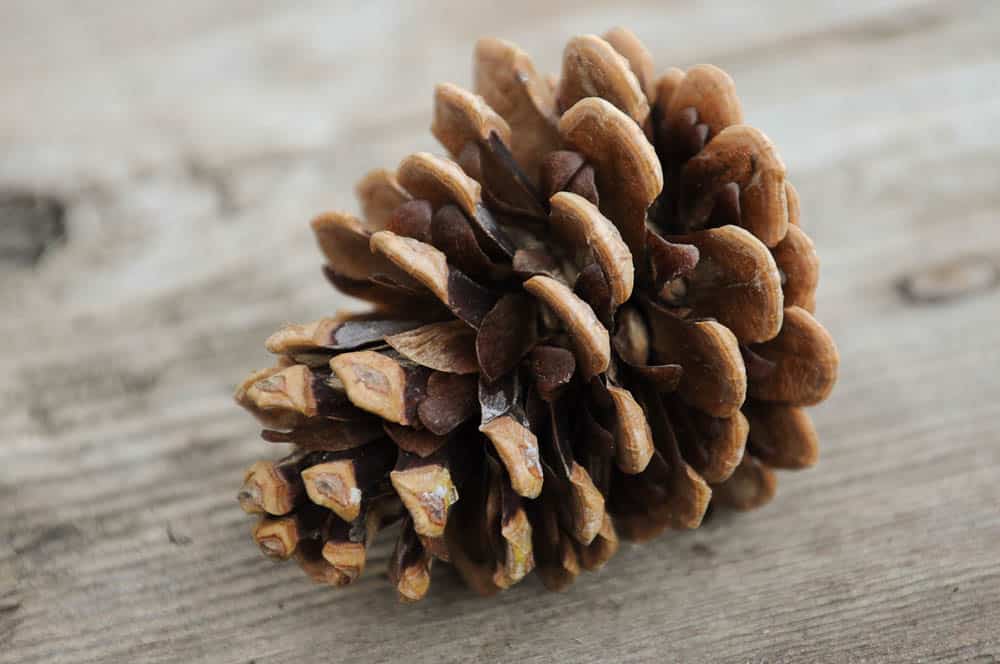
Japanese black pine cones
Waiting until the cones are brown and open will be too late. Aim to collect the green or purple cones that have yet to open.
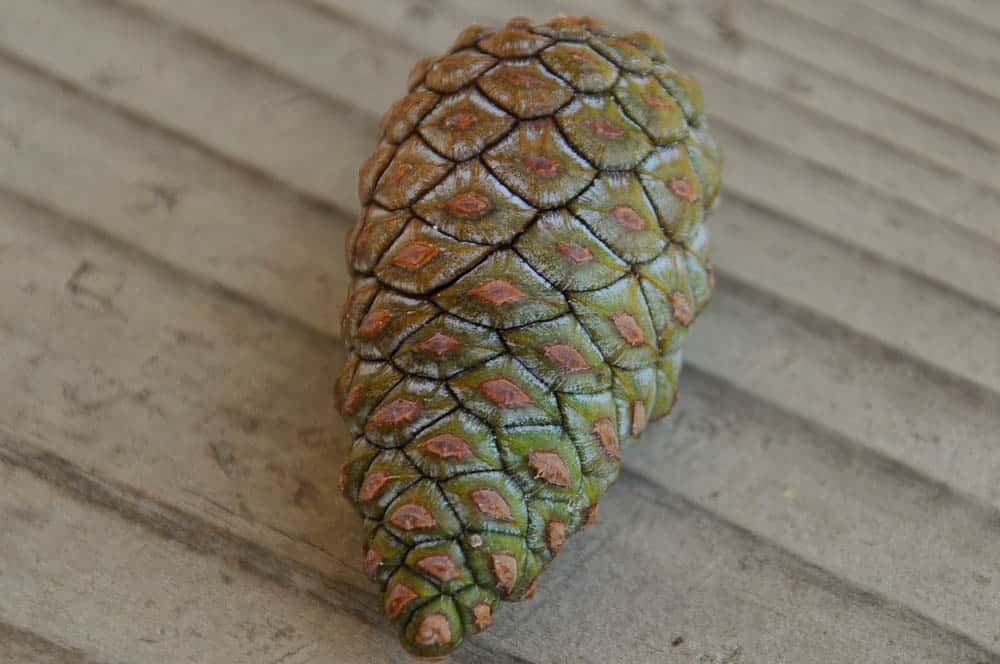
Typical pine cone – Japanese black pine
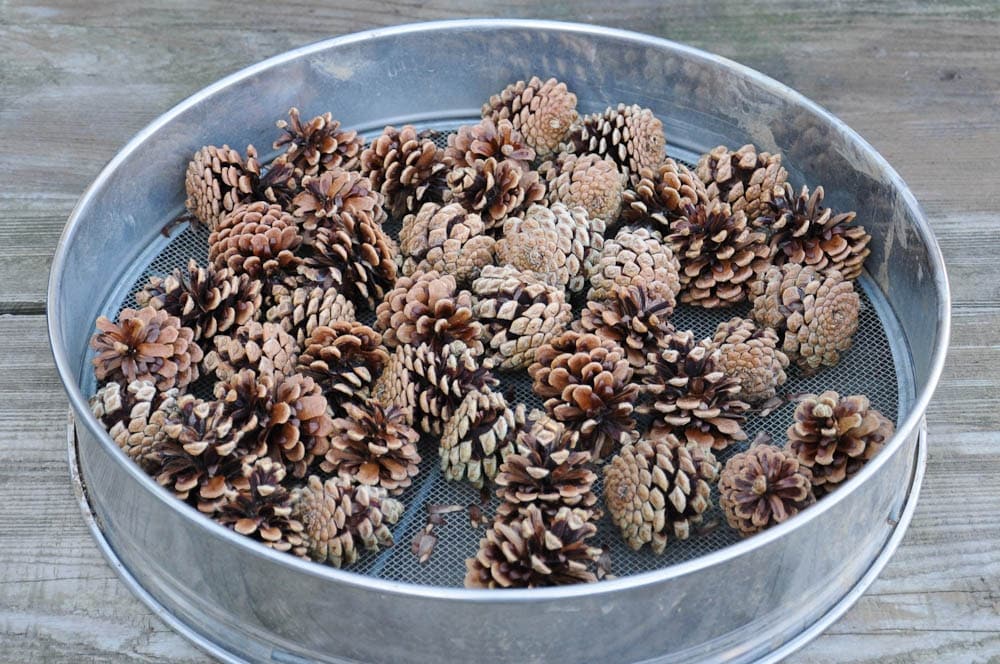
After bringing the cones home, give them a quick bath in a highly diluted lime-sulfur solution to kill any fungus or pests that might be living among the cones. Then set the cones out to dry.
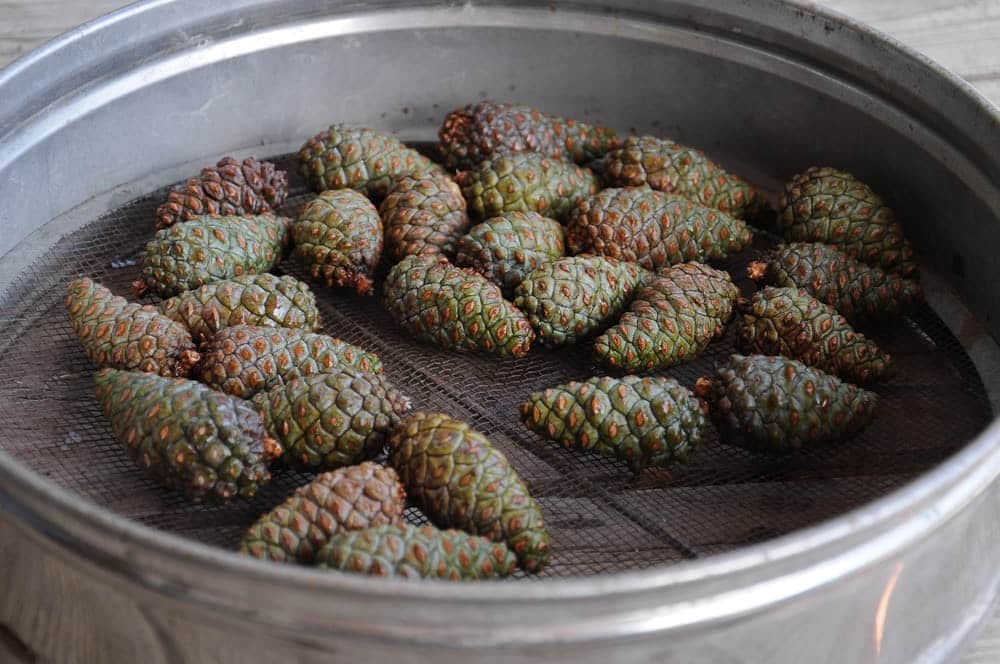
Cleaned and dry
Soil sifters, it turns out, make great cone-drying trays. Place the cones in the sifter, then cover them with an additional screen to keep the birds away. Don’t place the cones too close together as they’ll expand when they open up. Keeping the cones dry will speed up the time required for them to open.
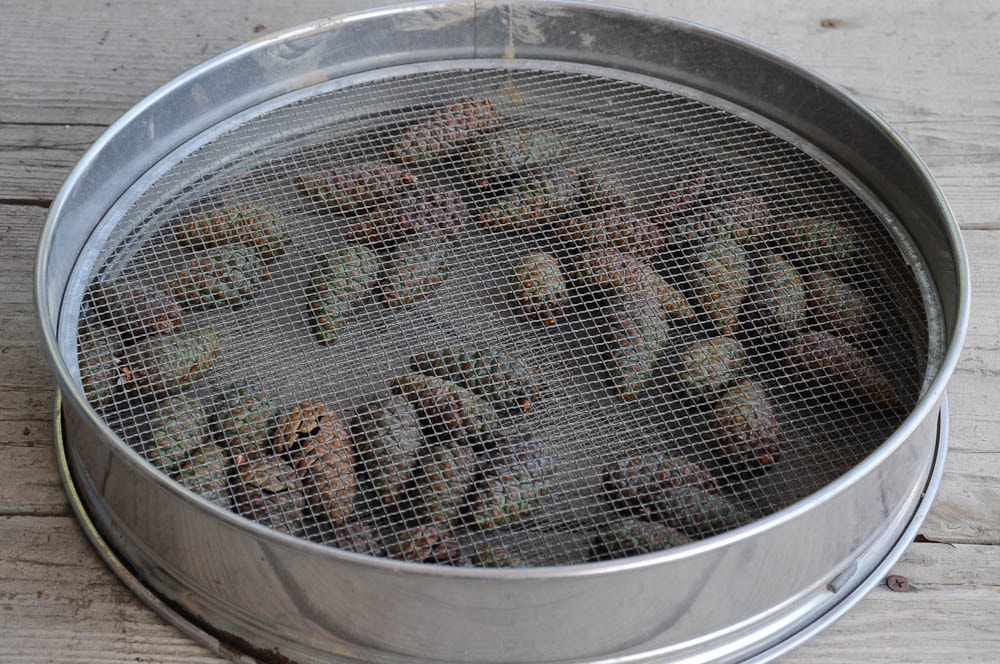
Protected from birds
I recommend collecting more cones than you think are necessary. While some produce a handful of viable seeds, others produce none. I also start many more pines than I want to end up with. Even when growing seedlings from an outstanding parent tree, it’s not certain that all offspring will be as impressive as the parent. Starting a few more than you need is a good way to hedge your bets.
Collecting the Seeds
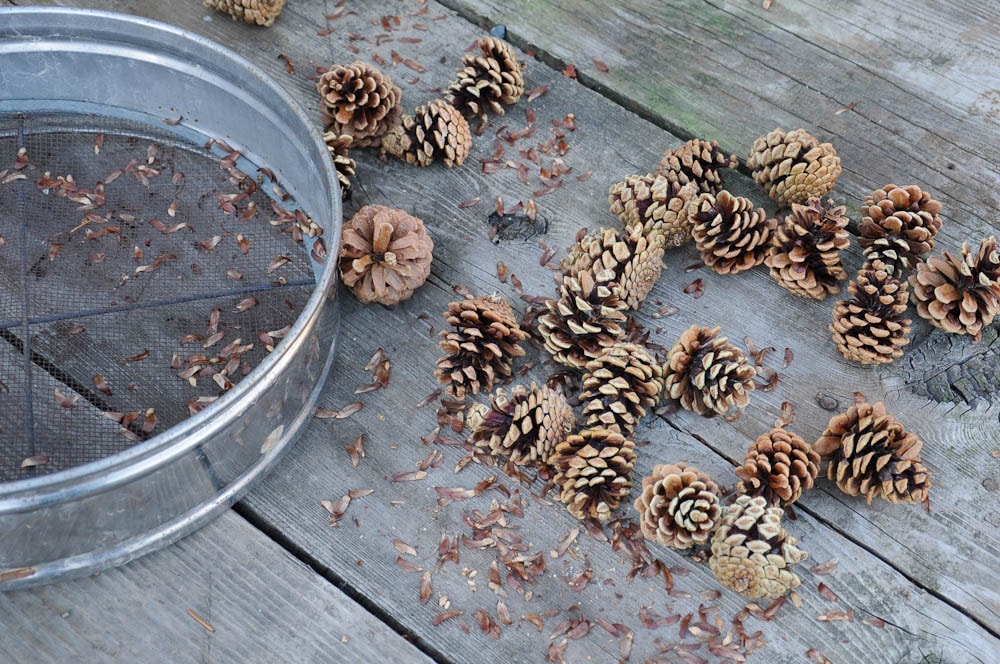
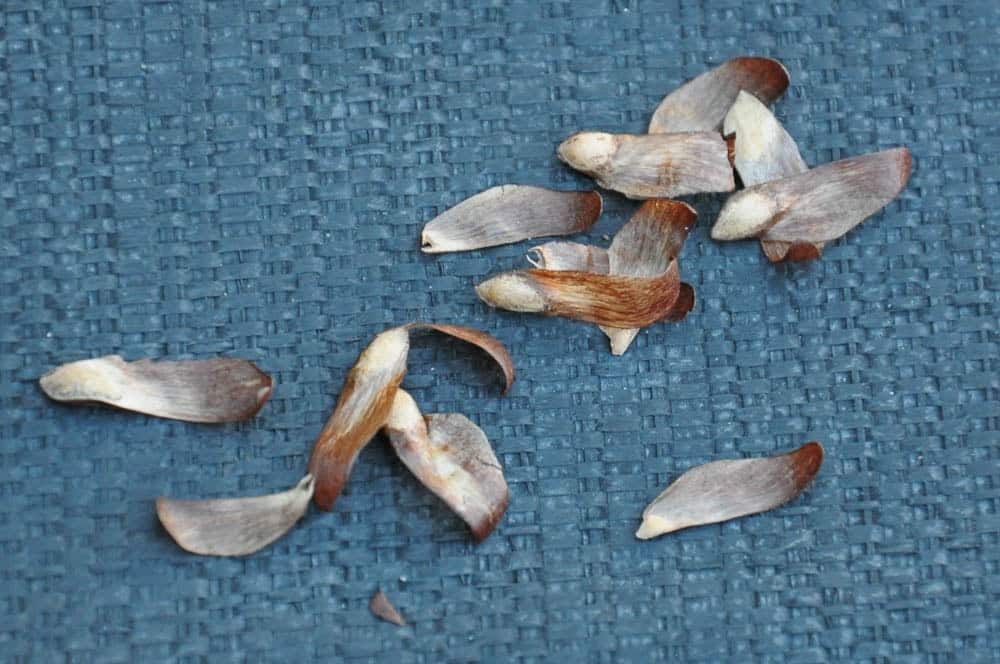
Within a week or two the cones will turn brown and open. Here is what this looks like.
Open pine cones
Now that the cones are open, it’s time to get the seeds out. The seeds are nestled into the base of each scale (scale bract) with the wing (seed bract) facing outward. As the scales open – an action promoted by dry air – these wings, not unlike maple seeds in design, can catch the wind and help the seeds travel when they detach from their cone.
If you look carefully, you can see the ends of the wings to which the seeds are attached.
Pine cone
Pick up a cone and tap it on its end. If the cone is fully ripe, some seeds will fall out.
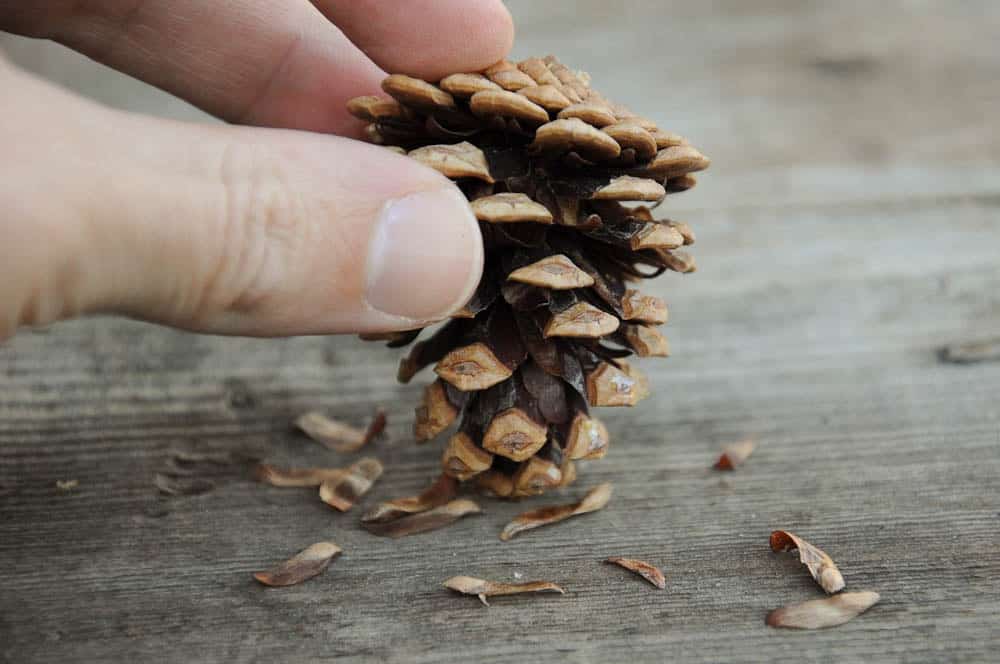
Tapping the cone to release the seeds
Not all seeds detach so easily. A few taps on the tip of the cone can release most of the seeds inside. Several more taps may coax reluctant seeds away from their cone.
Not always satisfied by what comes out after tapping, I’ve dismantled more than a few cones to make sure I didn’t miss any good seeds inside. This has proved more work than the effort merits. While I’ve pulled a few good seeds out of cones in this fashion, I haven’t found enough to make this a regular practice. Most of the good seeds develop in the middle of the cone – where it is thickest – and these are the seeds that are most easily released.
After forcing open the cones
How can you tell good seeds from bad seeds? Crack them open to see – they are usually light colored, dry and hollow.
Sterile seeds
Viable seeds are darker with brown and black stipples. They’re also heavier, though this is tricky to discern in one’s hand. I usually crack a few open while I work to recalibrate my understanding of which to keep and which to discard when I begin sorting seeds each year. After cracking a few good ones, I catch on fast.
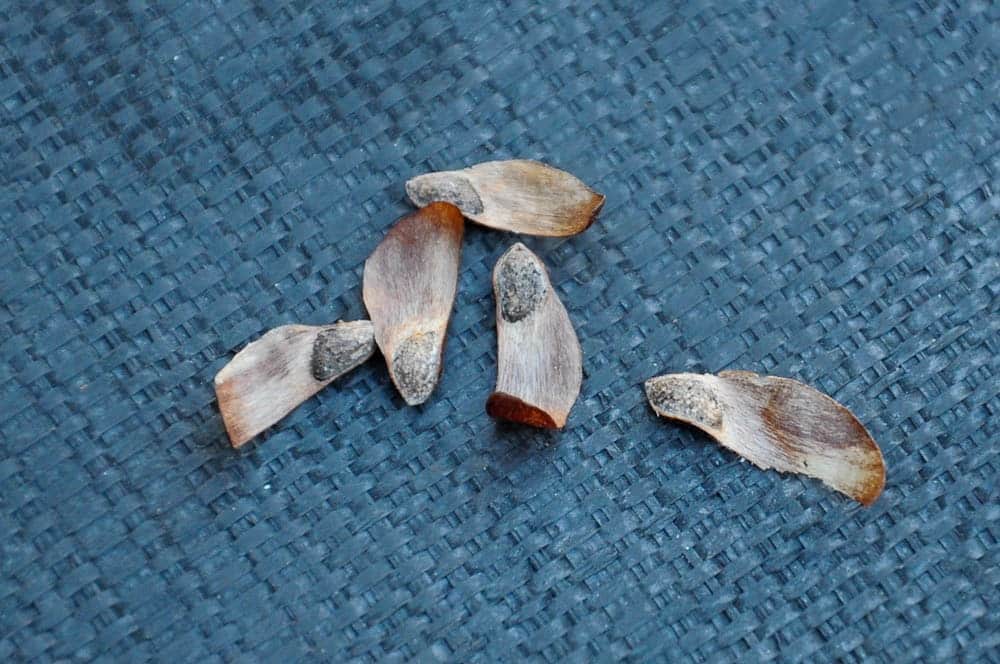
Viable seeds – keepers!
Once the seeds are free from their cones and the good ones are separated from the bad, place them in a cool, dark place until spring when it’s time to sow them.
Preparing the seeds for sowing
Seeds, as we know, are best planted in spring – somewhere between February and May, if you’re in the Northern Hemisphere. When you notice temperatures rising – or snow subsiding – get the seeds out from storage.
About 75 pine seeds
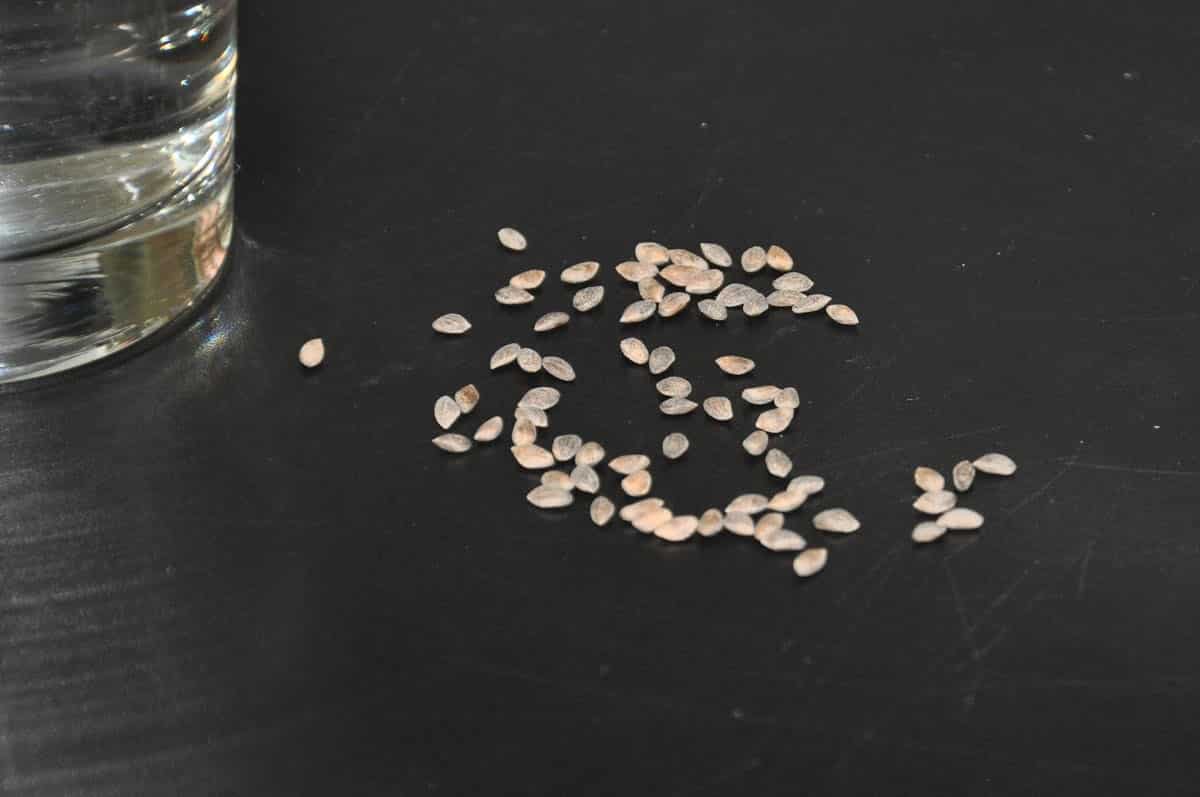
The next step is to soak the seeds in water for 24 hours. The idea is to “wake the seeds up” and cull any remaining duds from the bunch.
Some seeds will sink immediately – others will sink over the next 24 hours. If any seeds are still floating after a day, they are likely sterile.

After putting the seeds into a glass of water – many are still floating
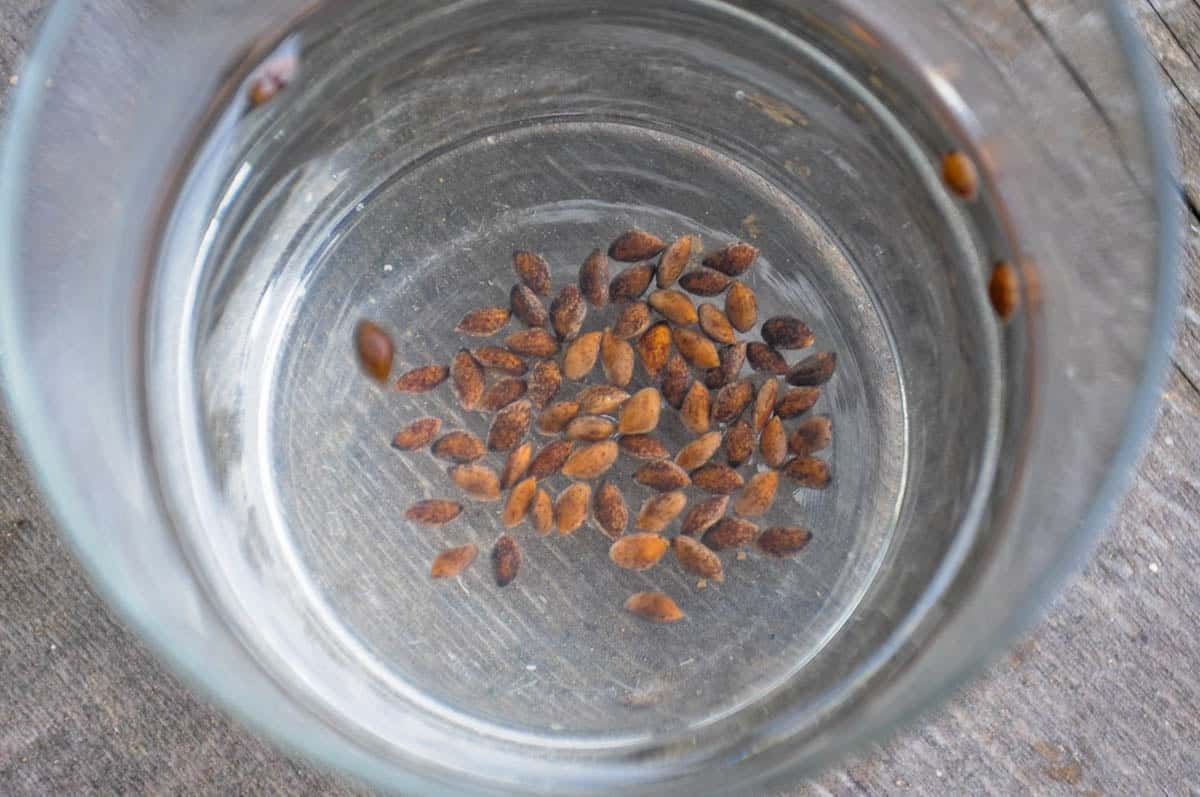
One day later – all but a few seeds have sunk to the bottom
I’ve used hot water for the soak in order to scarify the seeds, but haven’t always found that this makes much difference. Try both approaches and see which works better.
Black and red pines do, however, benefit from brief stratification. Stratification can be achieved by refrigerating seeds before planting. Place the seeds in a plastic bag with a moist paper towel or some shredded white sphagnum moss to preserve humidity.
Japanese black pine seeds – ready for the fridge
If the bag fogs up after a few minutes in the fridge, that’s a good sign there’s enough moisture in the bags.
Condensation in the bag
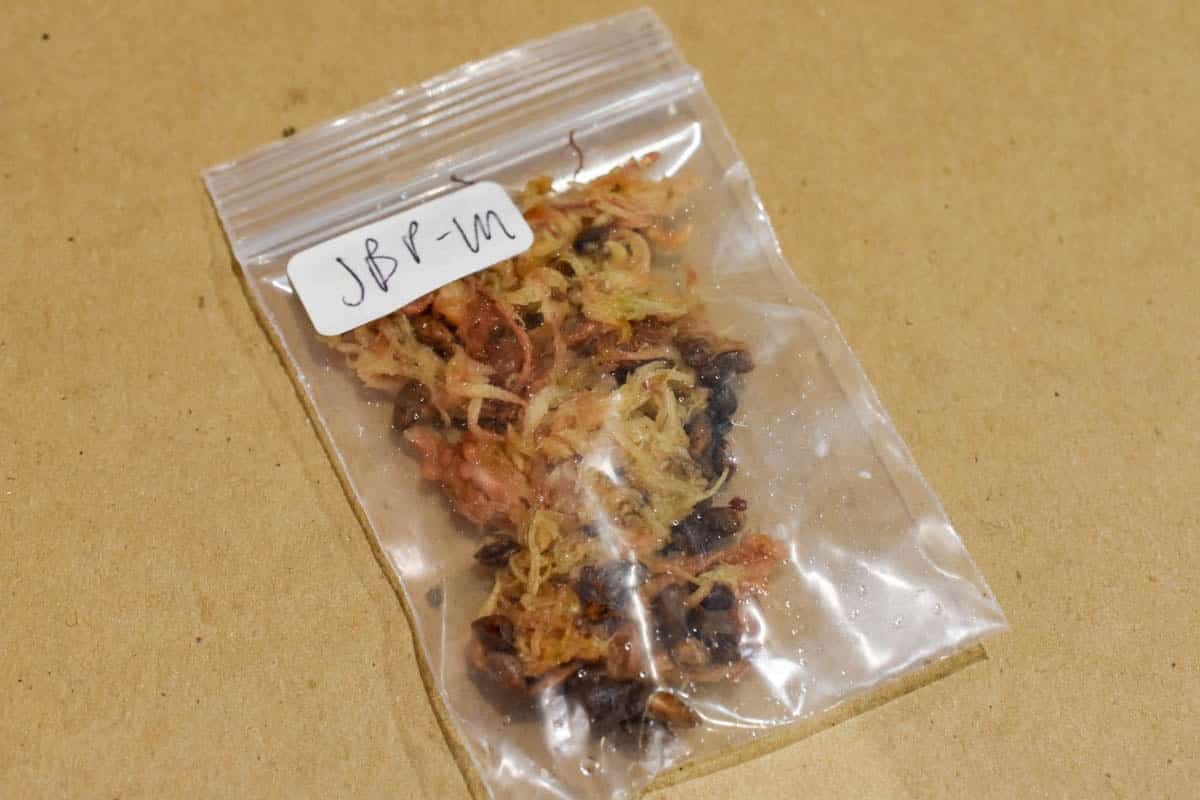
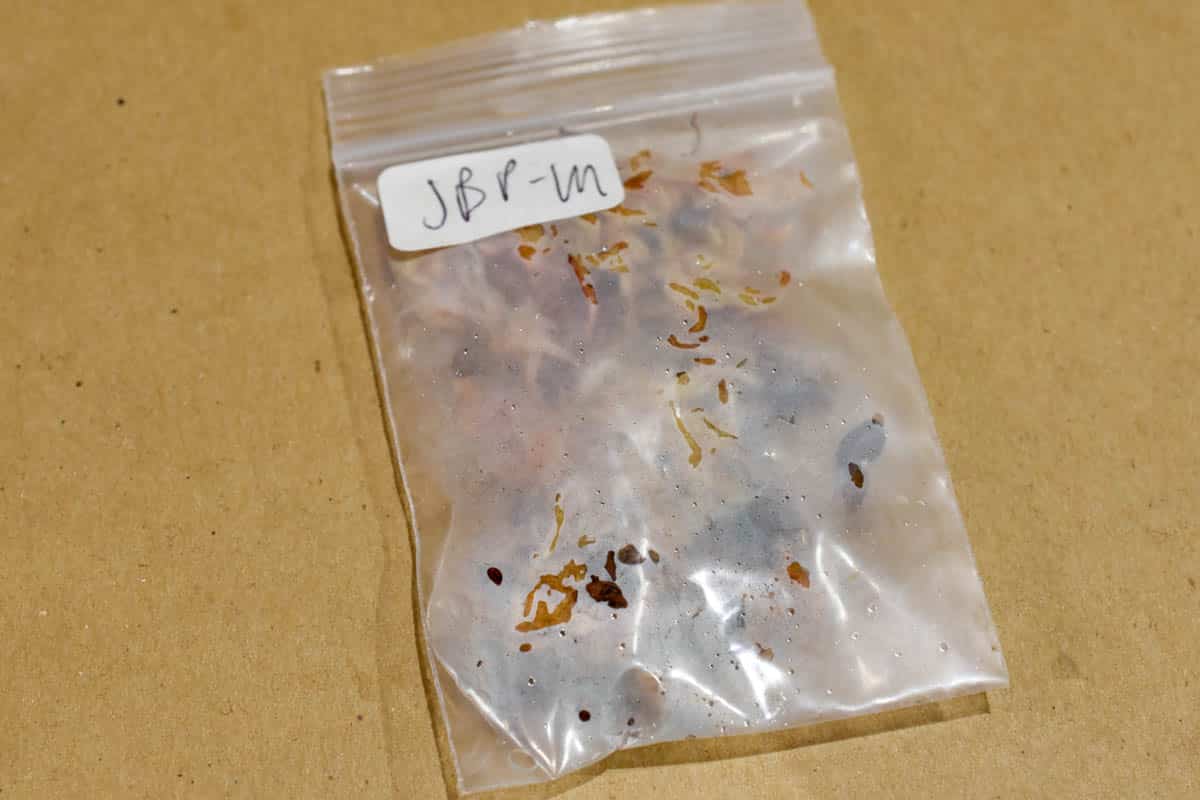
If you’re preparing seeds from different batches or according to different protocols, it’s a good idea to label the bags at this point.
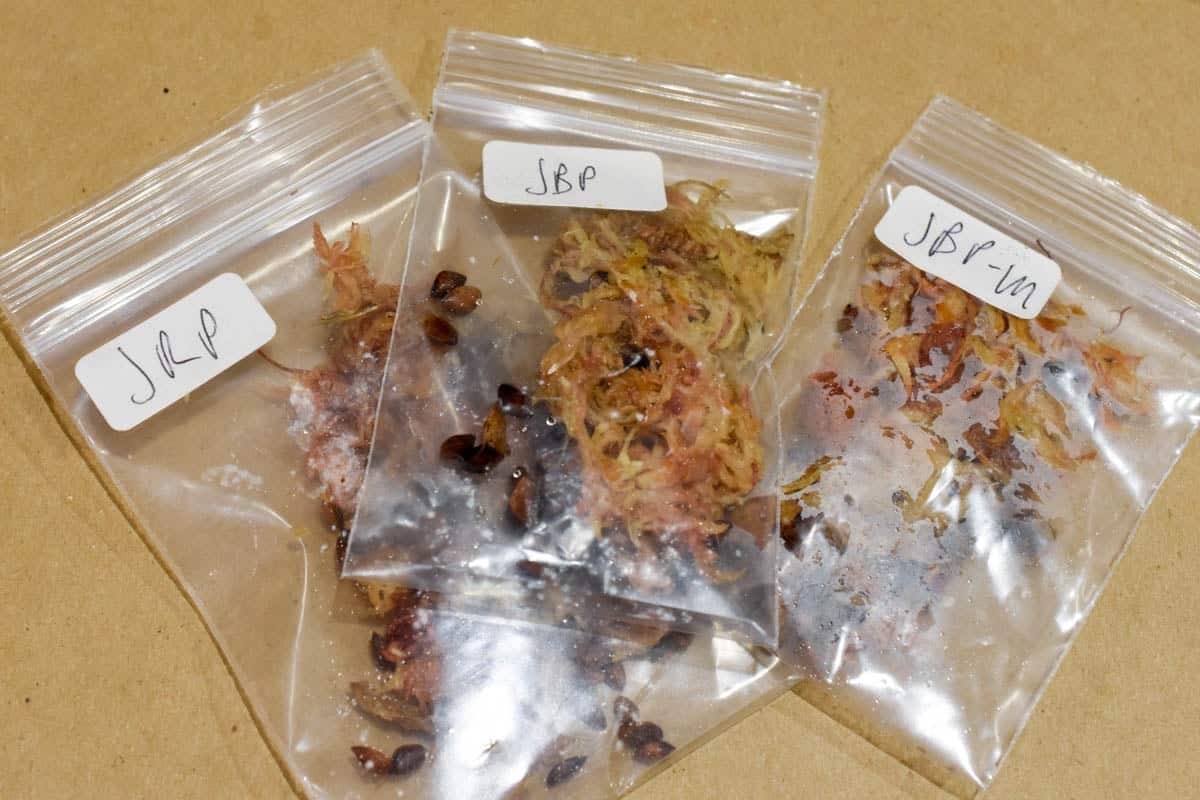
Red and black pine seeds
I typically leave black pine seeds in the refrigerator for about a week and red pine seeds for 1-3 weeks. I’ve found the stratified seeds sprout faster and more consistently than the non-stratified seeds by a wide margin – try it and see how it works for you.
Planting the seeds
There are two basic approaches to planting pine seeds. Both work well, but the first approach takes a bit more time. Let’s start with the meticulous approach.
Start by preparing a shallow pot with bonsai soil. While a number of soils work for growing black pine, I usually use my regular bonsai mix – lava, pumice, and akadama – covered with a layer of clean sand. I water the soil and poke 1/4″ holes in the sand with a matchstick.
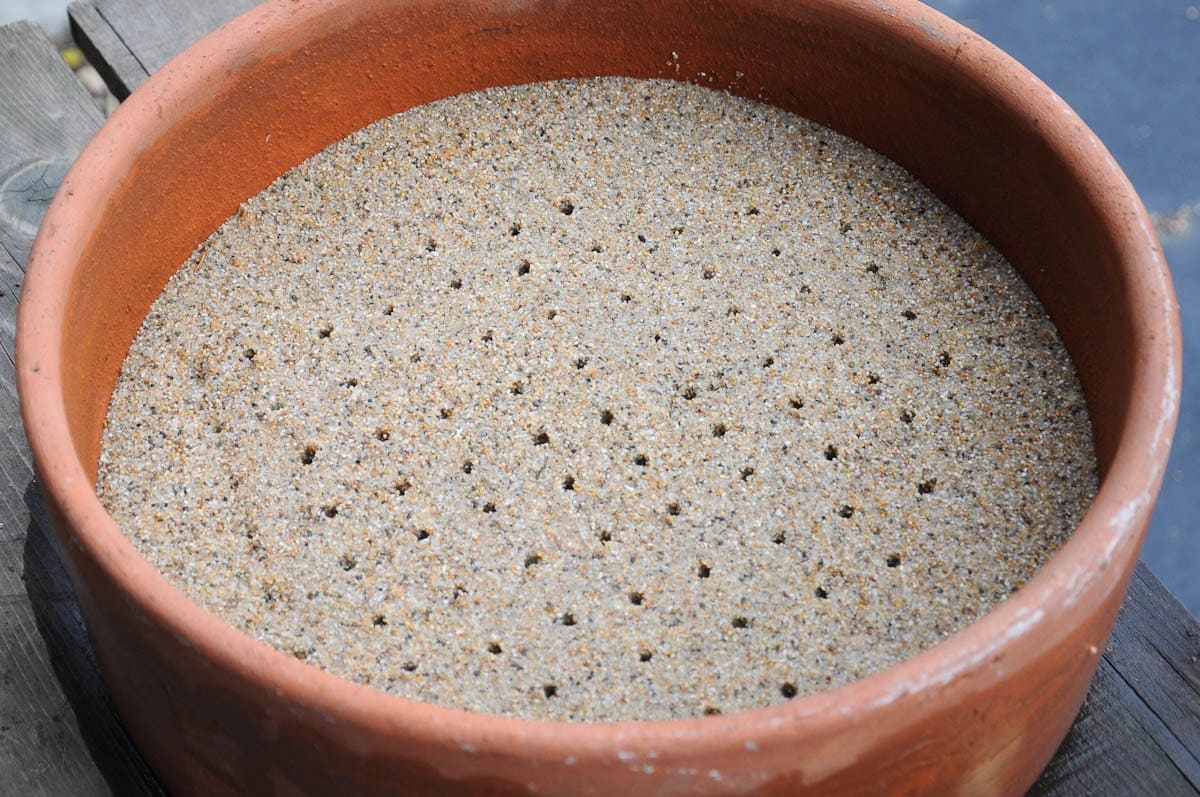
Holes spaced just over an inch apart
Into each hole goes one pine seed.
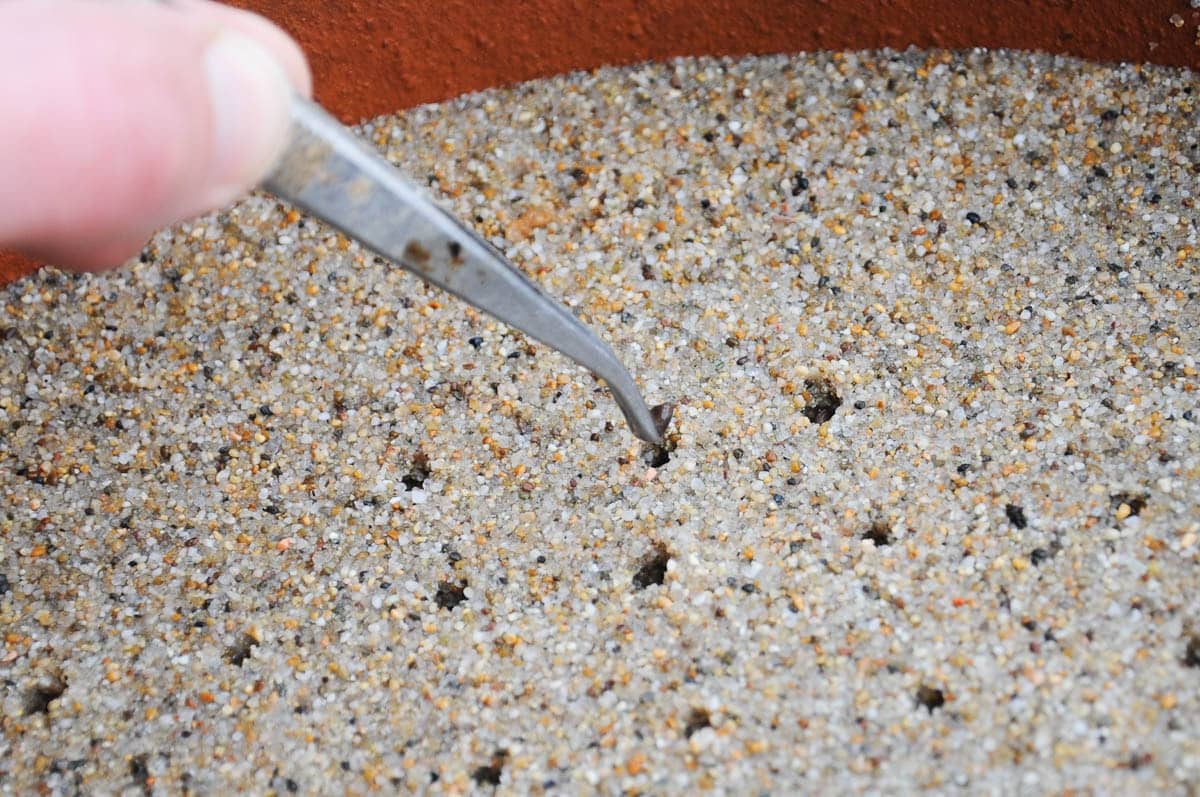
Placing the seed in the hole with tweezers
After placing the seeds in the holes, I add a tiny amount of sand to fill the holes and water again. The result looks no different than the starting point.
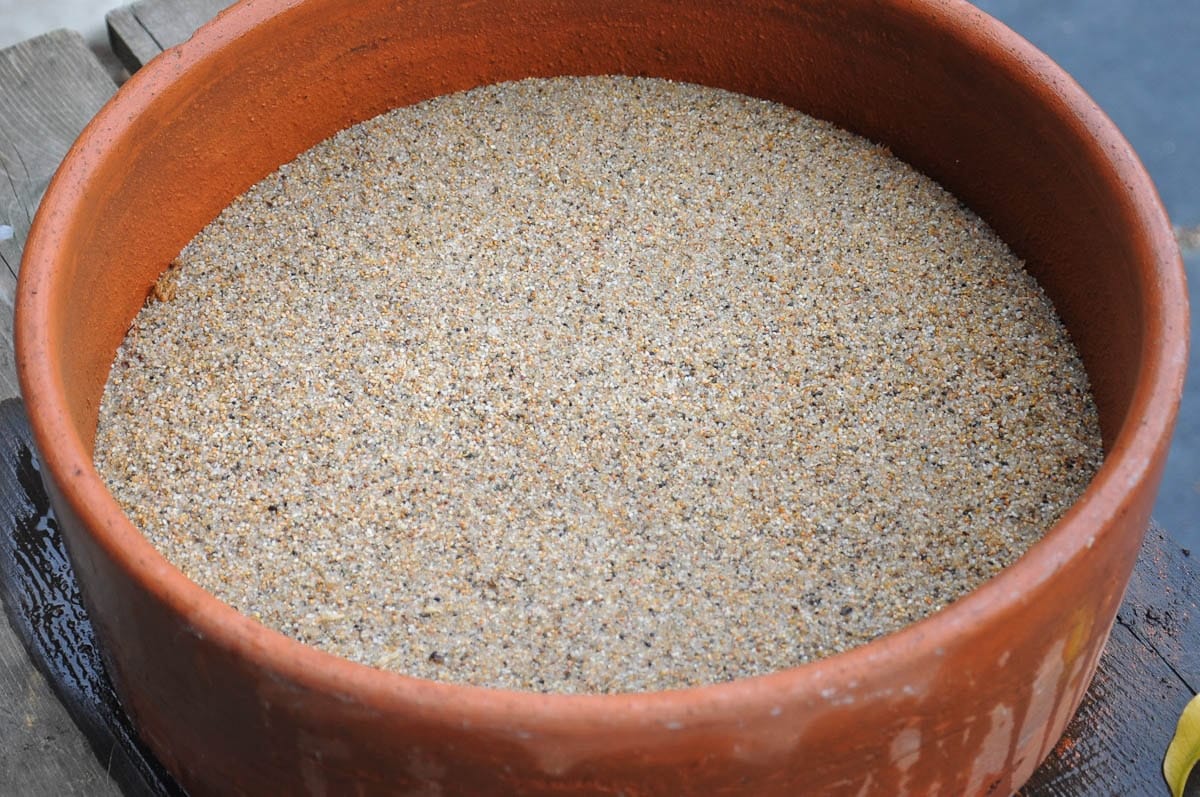
Seeds planted and watered
The alternative to the meticulous approach is to fill a pot with bonsai soil, sprinkle the seeds into the pot by hand, then cover the seeds with a thin layer of fine soil particles. You’ll find this approach can save a lot of time.
Watch the seeds sprout
Depending on the weather, seeds can sprout in as little as a week or as long as a month or more. The taproot emerges from the seed and descends into the soil so it can push the seed up toward the sunlight.
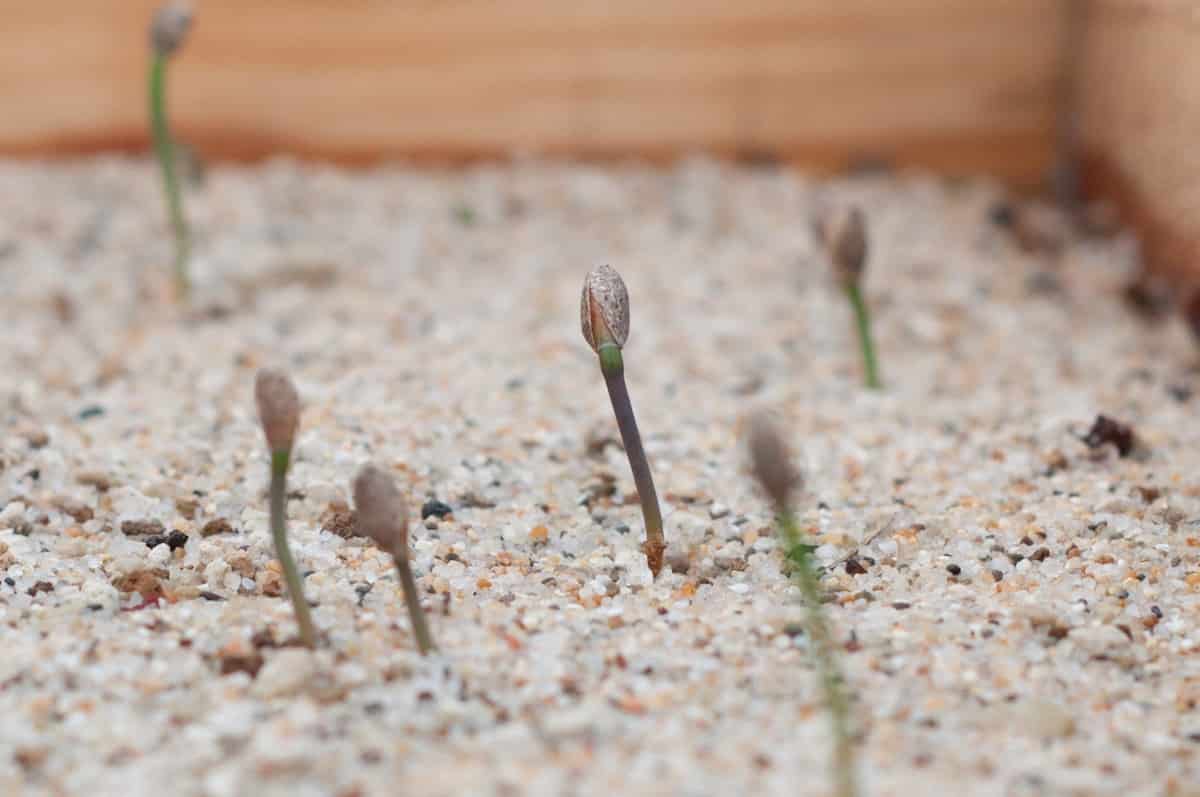
Emerging pine seeds
The first immature needles will appear soon after. As they strengthen, they’ll fling the the seed case aside.
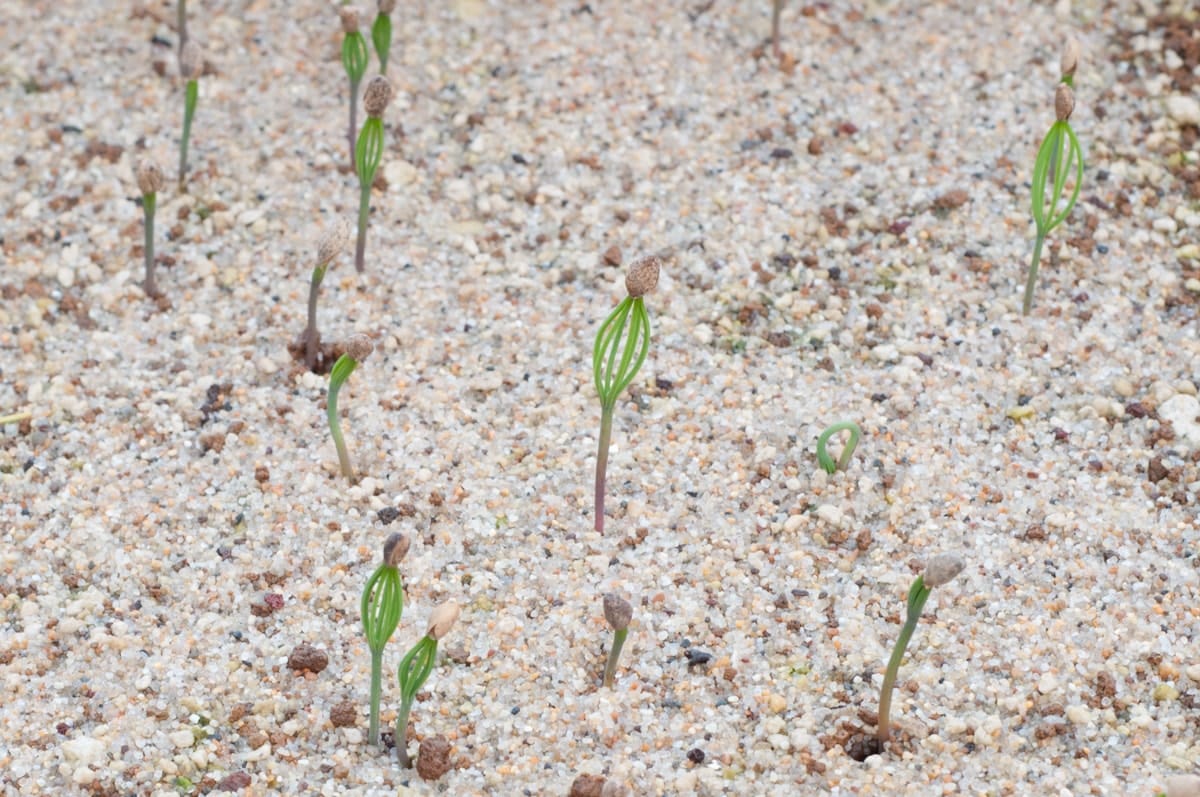
Almost free of the seed case
Although sunlight and warmth will help the seeds germinate, do note that the seeds will perish if they dry out at this stage. And if you have hungry birds in the garden, it’s a good idea to protect the seeds with window screen or anything that will let light and air pass but prevent birds from grabbing the seeds.
Within a few weeks of the first signs of germination, you’ll have a container full of pine seedlings.

Healthy pine seedlings
Keep them in full sun. Water them just before they dry out. Hold off on fertilizer until the seedlings begin to elongate. Start with gentle fertilizers at half strength and slowly build up from there.
And that’s it – for now. Bonsai work can begin in as little as two months. Until then, enjoy the little ones while they’re young – they’ll grow up faster than you think.
✕
Subscribe to Indian Bonsai Art
New Posts Delivered Every Tuesday and Friday