Last fall I decandled two Japanese black pines a few months later than normal – see “Fall decandling” for details. New shoots appeared soon after I decandled the trees but they stopped growing during winter. In spring the new shoots became vigorous. At this point I realized I didn’t know the plan for the second year. Fortunately, Akio Kondo was due for another visit.
Earlier this week, Kondo – a Japanese bonsai professional in town to teach and work on client trees – visited our monthly Bay Island Bonsai meeting and gave a critique. I brought both pines I’d decandled last fall. Kondo’s first question: why didn’t I decandle the trees this year? I pleaded ignorance. Turns out it’s very important to decandle the trees at the regularly appointed time the year following the fall decandling. For Northern California, that means the ideal time for me to decandle these trees was a few weeks ago in mid-July. Because the trees are strong, we decided to decandle them anyway.
Kondo says not to expect much immediately after decandling trees in fall – it’s in the second and third years after fall decandling that we can expect new buds to appear.
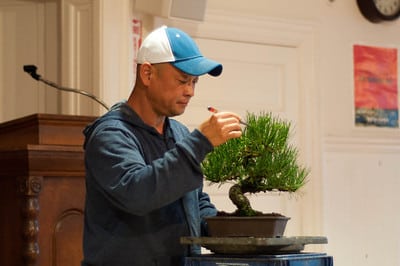
Kondo sizes up the tree
Bonsai professionals who studied at Kihachi en – the bonsai nursery of the late Kihachiro Kamiya – tend to work on pines with tweezers in their right hand and scissors in the left. It’s a good system once one gets used to it.
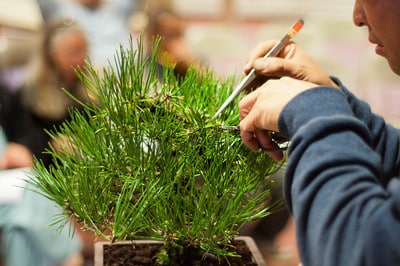
Kondo decandling
Fall shoots differ a bit from spring shoots. Spring shoots have a “neck” at the base, as Janet put it – a pale green area from which no needles grow. Fall shoots seem to grow directly from the branch with needles appearing all the way to the base of the shoot. Both shoots are decandled the same – the cut is made just above the base of the new growth.
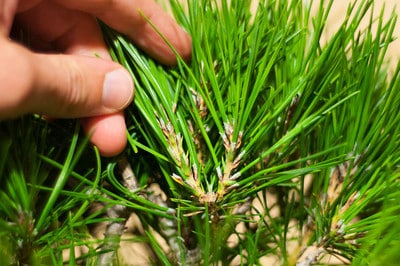
Fall shoots
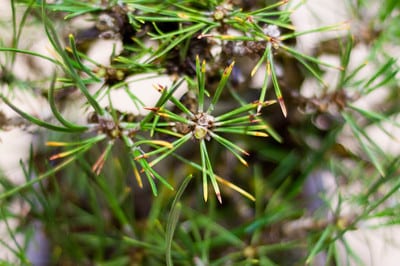
Decandled branch
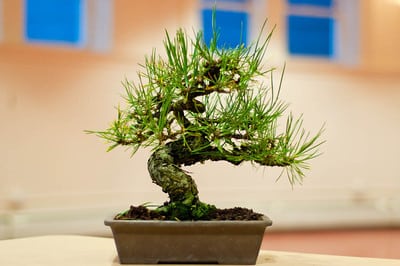
Decandling complete – one more tree to go
Kondo only took a few minutes to decandle the small pine. His critique of the tree included a suggestion I don’t often hear. He said to thicken the middle part of the trunk. The base is a good size for the style but the rest of the trunk is skinny. By thickening the mid-section, I can improve the tree by producing better taper.
The second tree was more dense than the first.
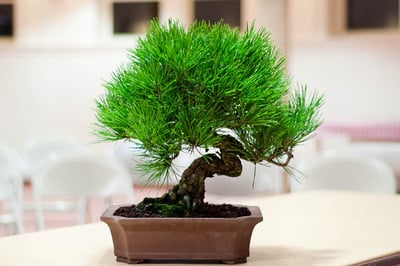
Black pine, August 2011
When Kondo saw the second pine on the turntable, he suggested that I do the cutting and he do the supervising.
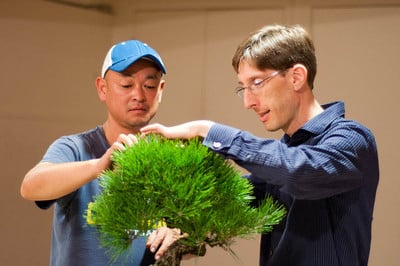
Kondo and I considering a cut
For time’s sake, I used the scissors in my right hand and pulled the decandled shoots away with my left. It would be generous to say I worked at half Kondo’s speed.
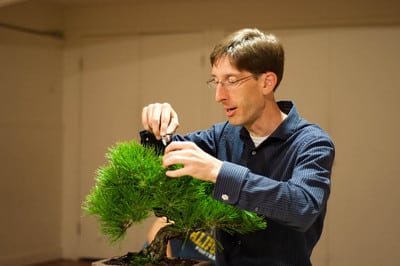
Decandling
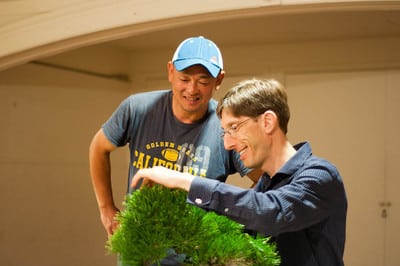
Kondo looking over my shoulder
By the end, Kondo was “helping” from the sidelines.
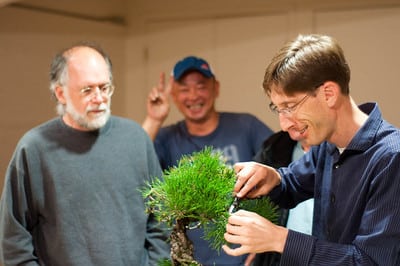
Still decandling
When the decandling was complete, I noticed I’d removed the bulk of the tree’s foliage.
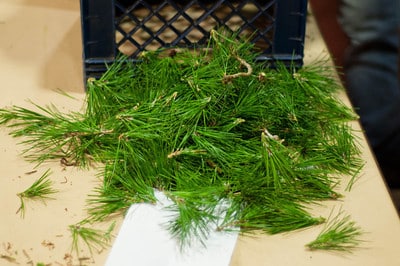
Decandled shoots
Kondo followed up by cutting back some of the more vigorous shoots to encourage new interior growth.
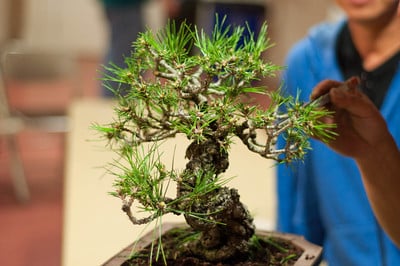
Summer cutback
I’m curious now to see if more new buds will appear later this year or early next. Either way, I’ll be sure to decandle the tree on time next summer.
Subscribe to Indian Bonsai Art
New Posts Delivered Every Tuesday and Friday
