Whether I’m working on well-established pines or pines that are have yet to experience much branch development, the basic decandling process is the same – remove spring shoots with the aim of producing summer shoots. One difference is that when I’m working on less-developed pines, I’ll often do more cutback and sometimes a little wiring when I decandle.
One of my more curious looking projects is a black pine that gets decandled every year but has escape branches. The purpose of the escape branches is to thicken the middle, but not the top, of the trunk. As the trunk below the topmost escape branch has reached the desired thickness, I removed it when I decandled the tree this year. I expect to remove the remaining escape branch in a year or two.
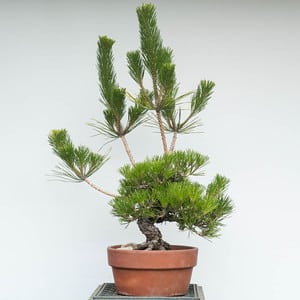
Black pine with escape branch
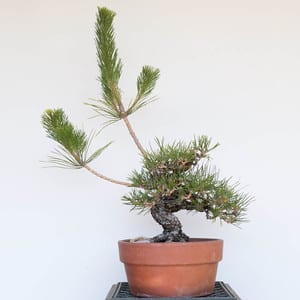
After decandling
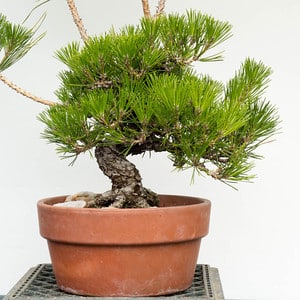
Before decandling
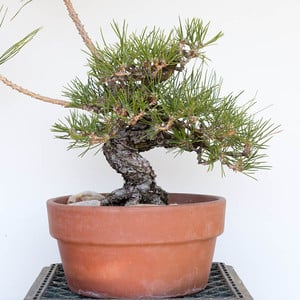
After decandling
I followed a similar approach for a slightly larger pine. Instead of serving to thicken the trunk like the escape branch above, the large branch at the top of the tree below is serving to maintain sap flow while grafts fuse. Because I want to channel as much growth as possible into the lower branches, I decandled these escape-like branches too.
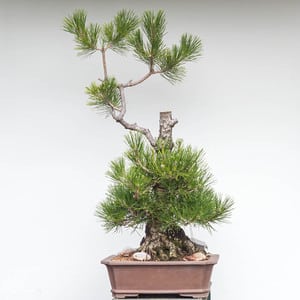
Black pine before decandling
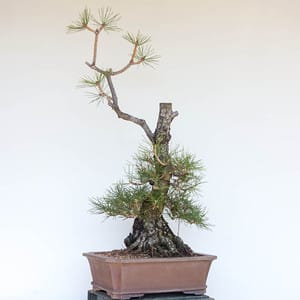
After decandling
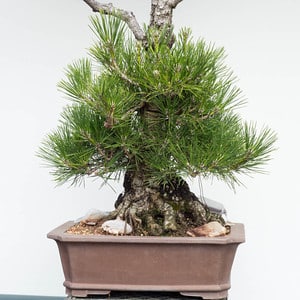
Closeup of the future tree
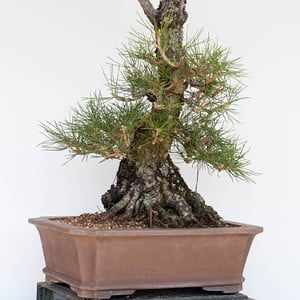
After decandling
The cork bark pine below was decandled for the first time last year. As last year’s summer growth filled in well, I decandled the tree again this year.
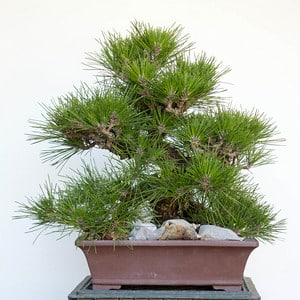
Cork bark pine before decandling
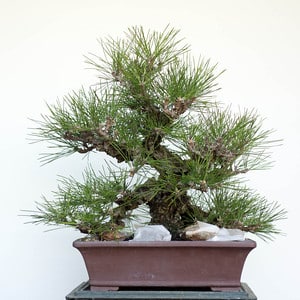
After decandling
Next up, decandling young pines.
Subscribe to Indian Bonsai Art
New Posts Delivered Every Tuesday and Friday
