
Although I’ve only posted a handful of explicit bonsai experiments, I tend to think of all bonsai work as experimental.
We know what happens when we cut – some amount of foliage is removed from the tree we’re working on. What we don’t know is how exactly the tree will respond. We may have a general idea – after decandling summer shoots will appear, for example – but the specifics are less concrete.
When I remove spring growth from a shoot, I don’t know how many buds will form or where exactly they’ll appear. When I decandle weak, interior shoots, I don’t know if any buds will form at all.
While I can’t track the results of every last cut on the tree, I can track things like timing and decandling technique used.
Instead of taking notes, I try to take pictures whenever possible. Occasionally I’ll check photos from previous years to see when I decandled a tree to find out how it came out. This can offer clues for what to try next.
My red pine forest is essentially a big experiment to see what one can do with trees that are less well-suited to be developed on their own. It’s also a recurring subject for experiments relating to decandling.
A few years ago, I decandled some of the trees more than a month later than usual. This really weakened the trees that were decandled last. It took two years for these trees to recover.
Now that the vigor is again well-balanced, I can get back to the straightforward work of removing the spring growth to encourage more refined summer growth. Here’s what the work looked like step-by-step.
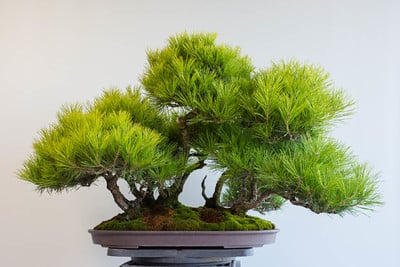
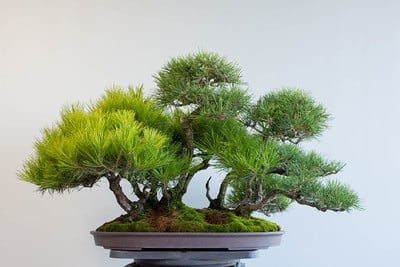
Red pine forest before decandling – June 2016
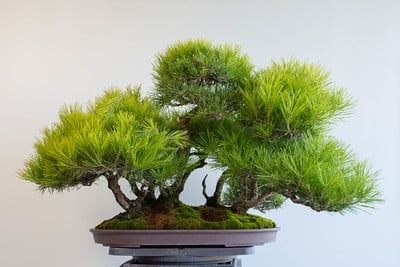
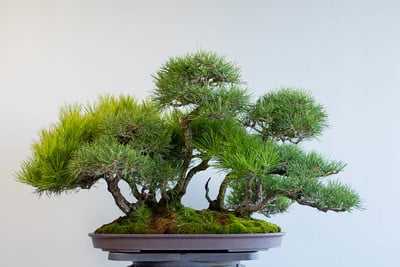
After decandling the center tree
I worked with scissors in my right hand and tweezers in my left. I find it’s easier to reach the interior shoots with tools than it is to reach them with my hands.
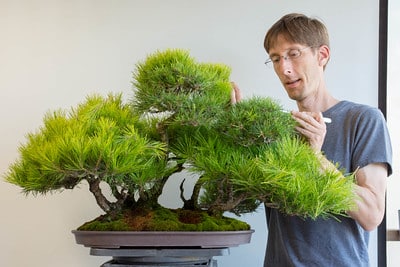
Working with scissors and tweezers
Starting at the top and working my way down, I removed all but the smallest new shoots.
Two sections complete
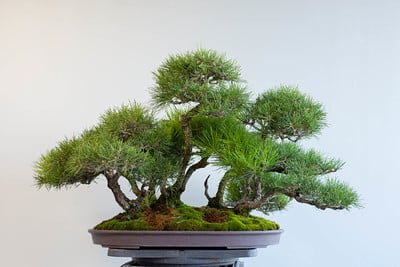
The right side is almost done
Front tree on the left complete
Most of the left side complete
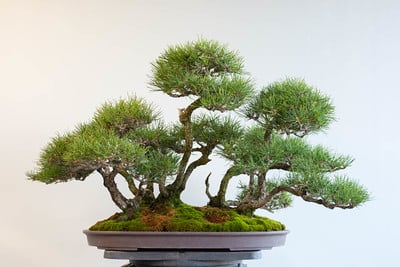
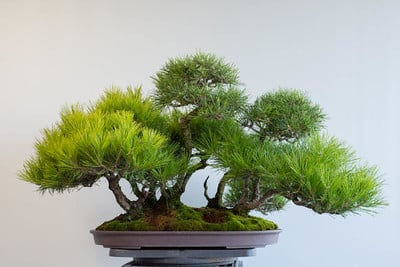
Decandling complete
After I finished decandling, I removed a small number of strong shoots and thinned out some of the branches on the left. The goal is to even out the density on the left and right-hand sides of the tree and to vary the tree heights more – a task that will require both time and wiring.
For today, however, the work is complete. I’ll thin a few needles before the summer shoots appear and start fertilizing again in a few weeks. In a few months, I’ll find out how this year’s decandling experiment turns out.
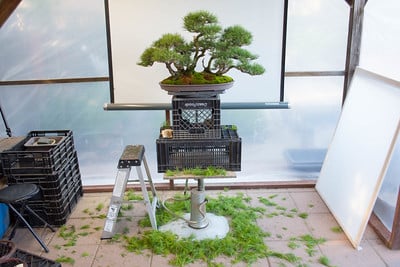
The scene of the decandling
Subscribe to Indian Bonsai Art
New Posts Delivered Every Tuesday and Friday