When decandling season comes around, I start with the biggest pines in the garden and work my way down to the smallest ones over a period of four-to-six weeks. This gives the larger trees enough time to develop needles over summer that are just the right size (see “Decandling overview” for details).
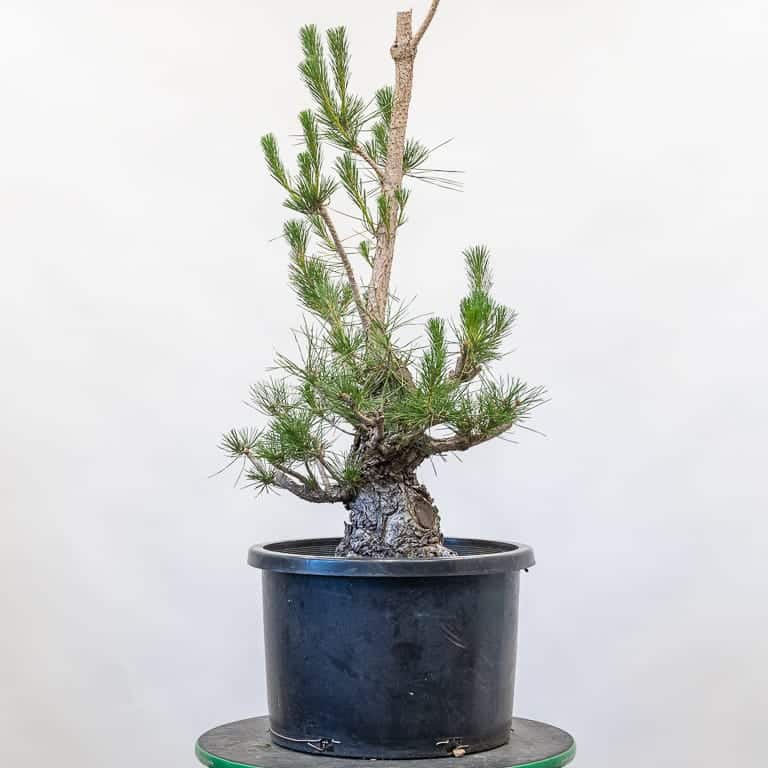
Two of my bigger pines were field-grown at Lone Pine Gardens in Sebastopol, California. They are in early stages of branch refinement and are ready for decandling.
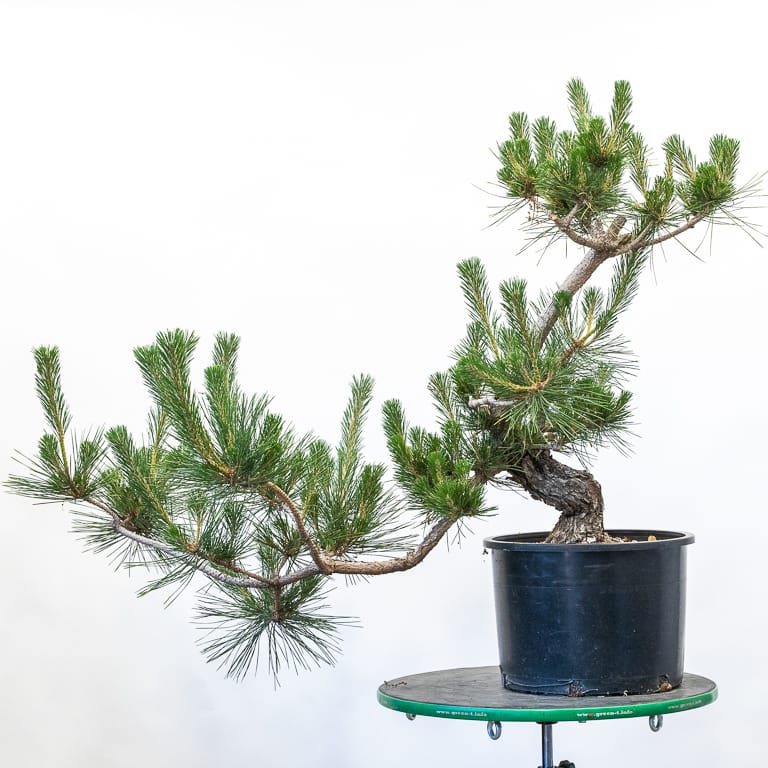
Field grown pine from Lone Pine Gardens
On the first pass, I decandled the tree and shortened several branches.
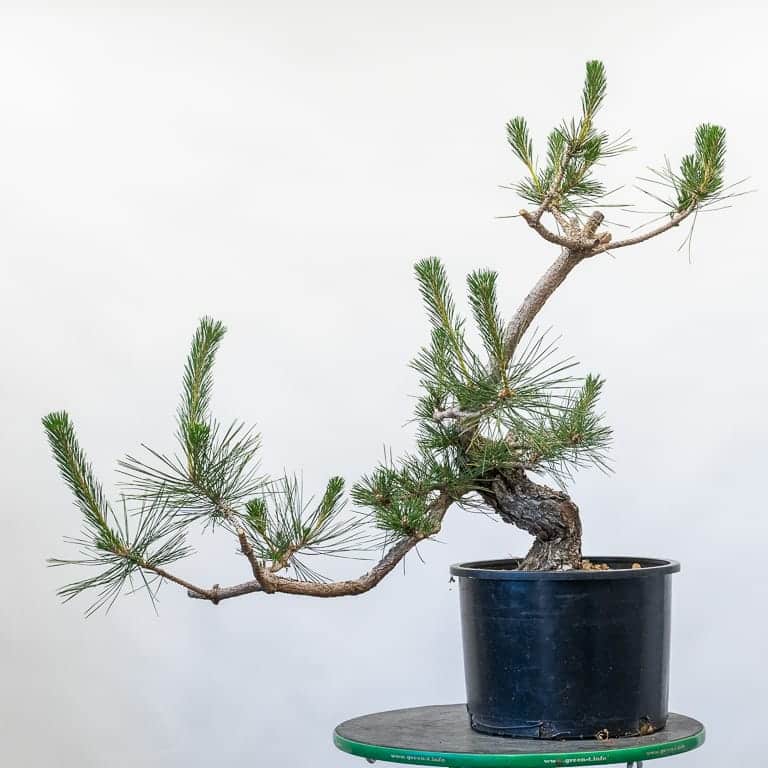
After pruning and partially decandling
Next, I plucked excess needles in crowded areas.
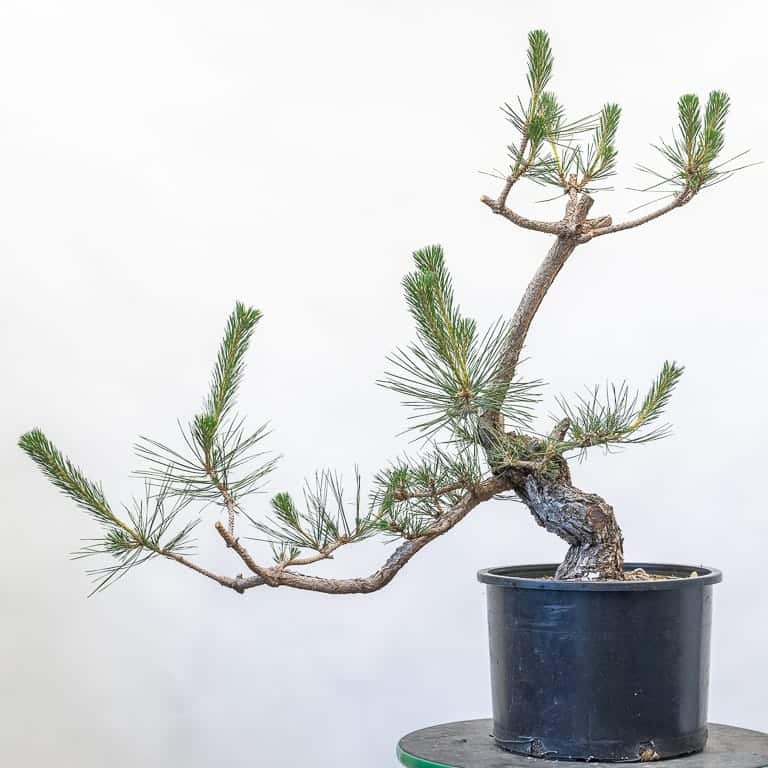
Pruning and plucking complete – 32″
I’m keeping the top sacrifice branch for the time being to help heal some large wounds on the back of the tree, but I plan to remove the lowest sacrifice branch within the next year.
I took a similar approach with a slightly larger tree. I thinned crowded areas, decandled most of the spring growth, and pulled excess needles.
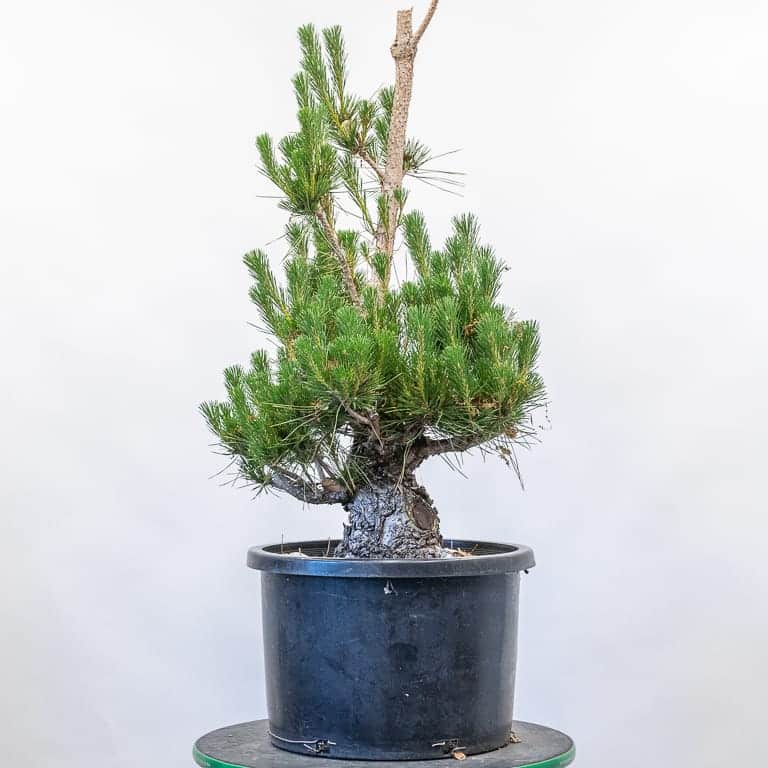
Before decandling
After decandling and pulling needles – 34″
As with the above tree, I didn’t decandle branches that I wanted to grow bigger. Most of the heavy branches will be removed over the next couple years which means the smaller branches have some catching up to do.
If you’d like to see a video of this kind of work, Eric Schrader recently produced a five-video series on decandling that includes work on a field-grown pine from the same batch as the above trees.
You can catch the first video in the series here, or check out Eric’s other videos on the Bonsaify YouTube channel.
Subscribe to Indian Bonsai Art
New Posts Delivered Every Tuesday and Friday
